

The Ultimate Sourdough FAQ

Sourdough bread has captured the hearts and kitchens of baking enthusiasts worldwide. Its distinctive tangy flavor, chewy texture, and crusty exterior make it a favorite among bread lovers. However, making sourdough at home can be a daunting task for beginners.
To help you on your sourdough journey, we've compiled a comprehensive FAQ to address common questions and concerns. Whether you're a total newbie or a seasoned dough pro, this guide will help you perfect your sourdough skills.
And if you're just starting your sourdough journey, our Sourdough Starter Kit has everything you need to get going—from the starter jar to the essential tools. It’s your all-in-one solution to mastering sourdough like a pro!
Frequently Asked Questions about Sourdough
Q: What is sourdough?
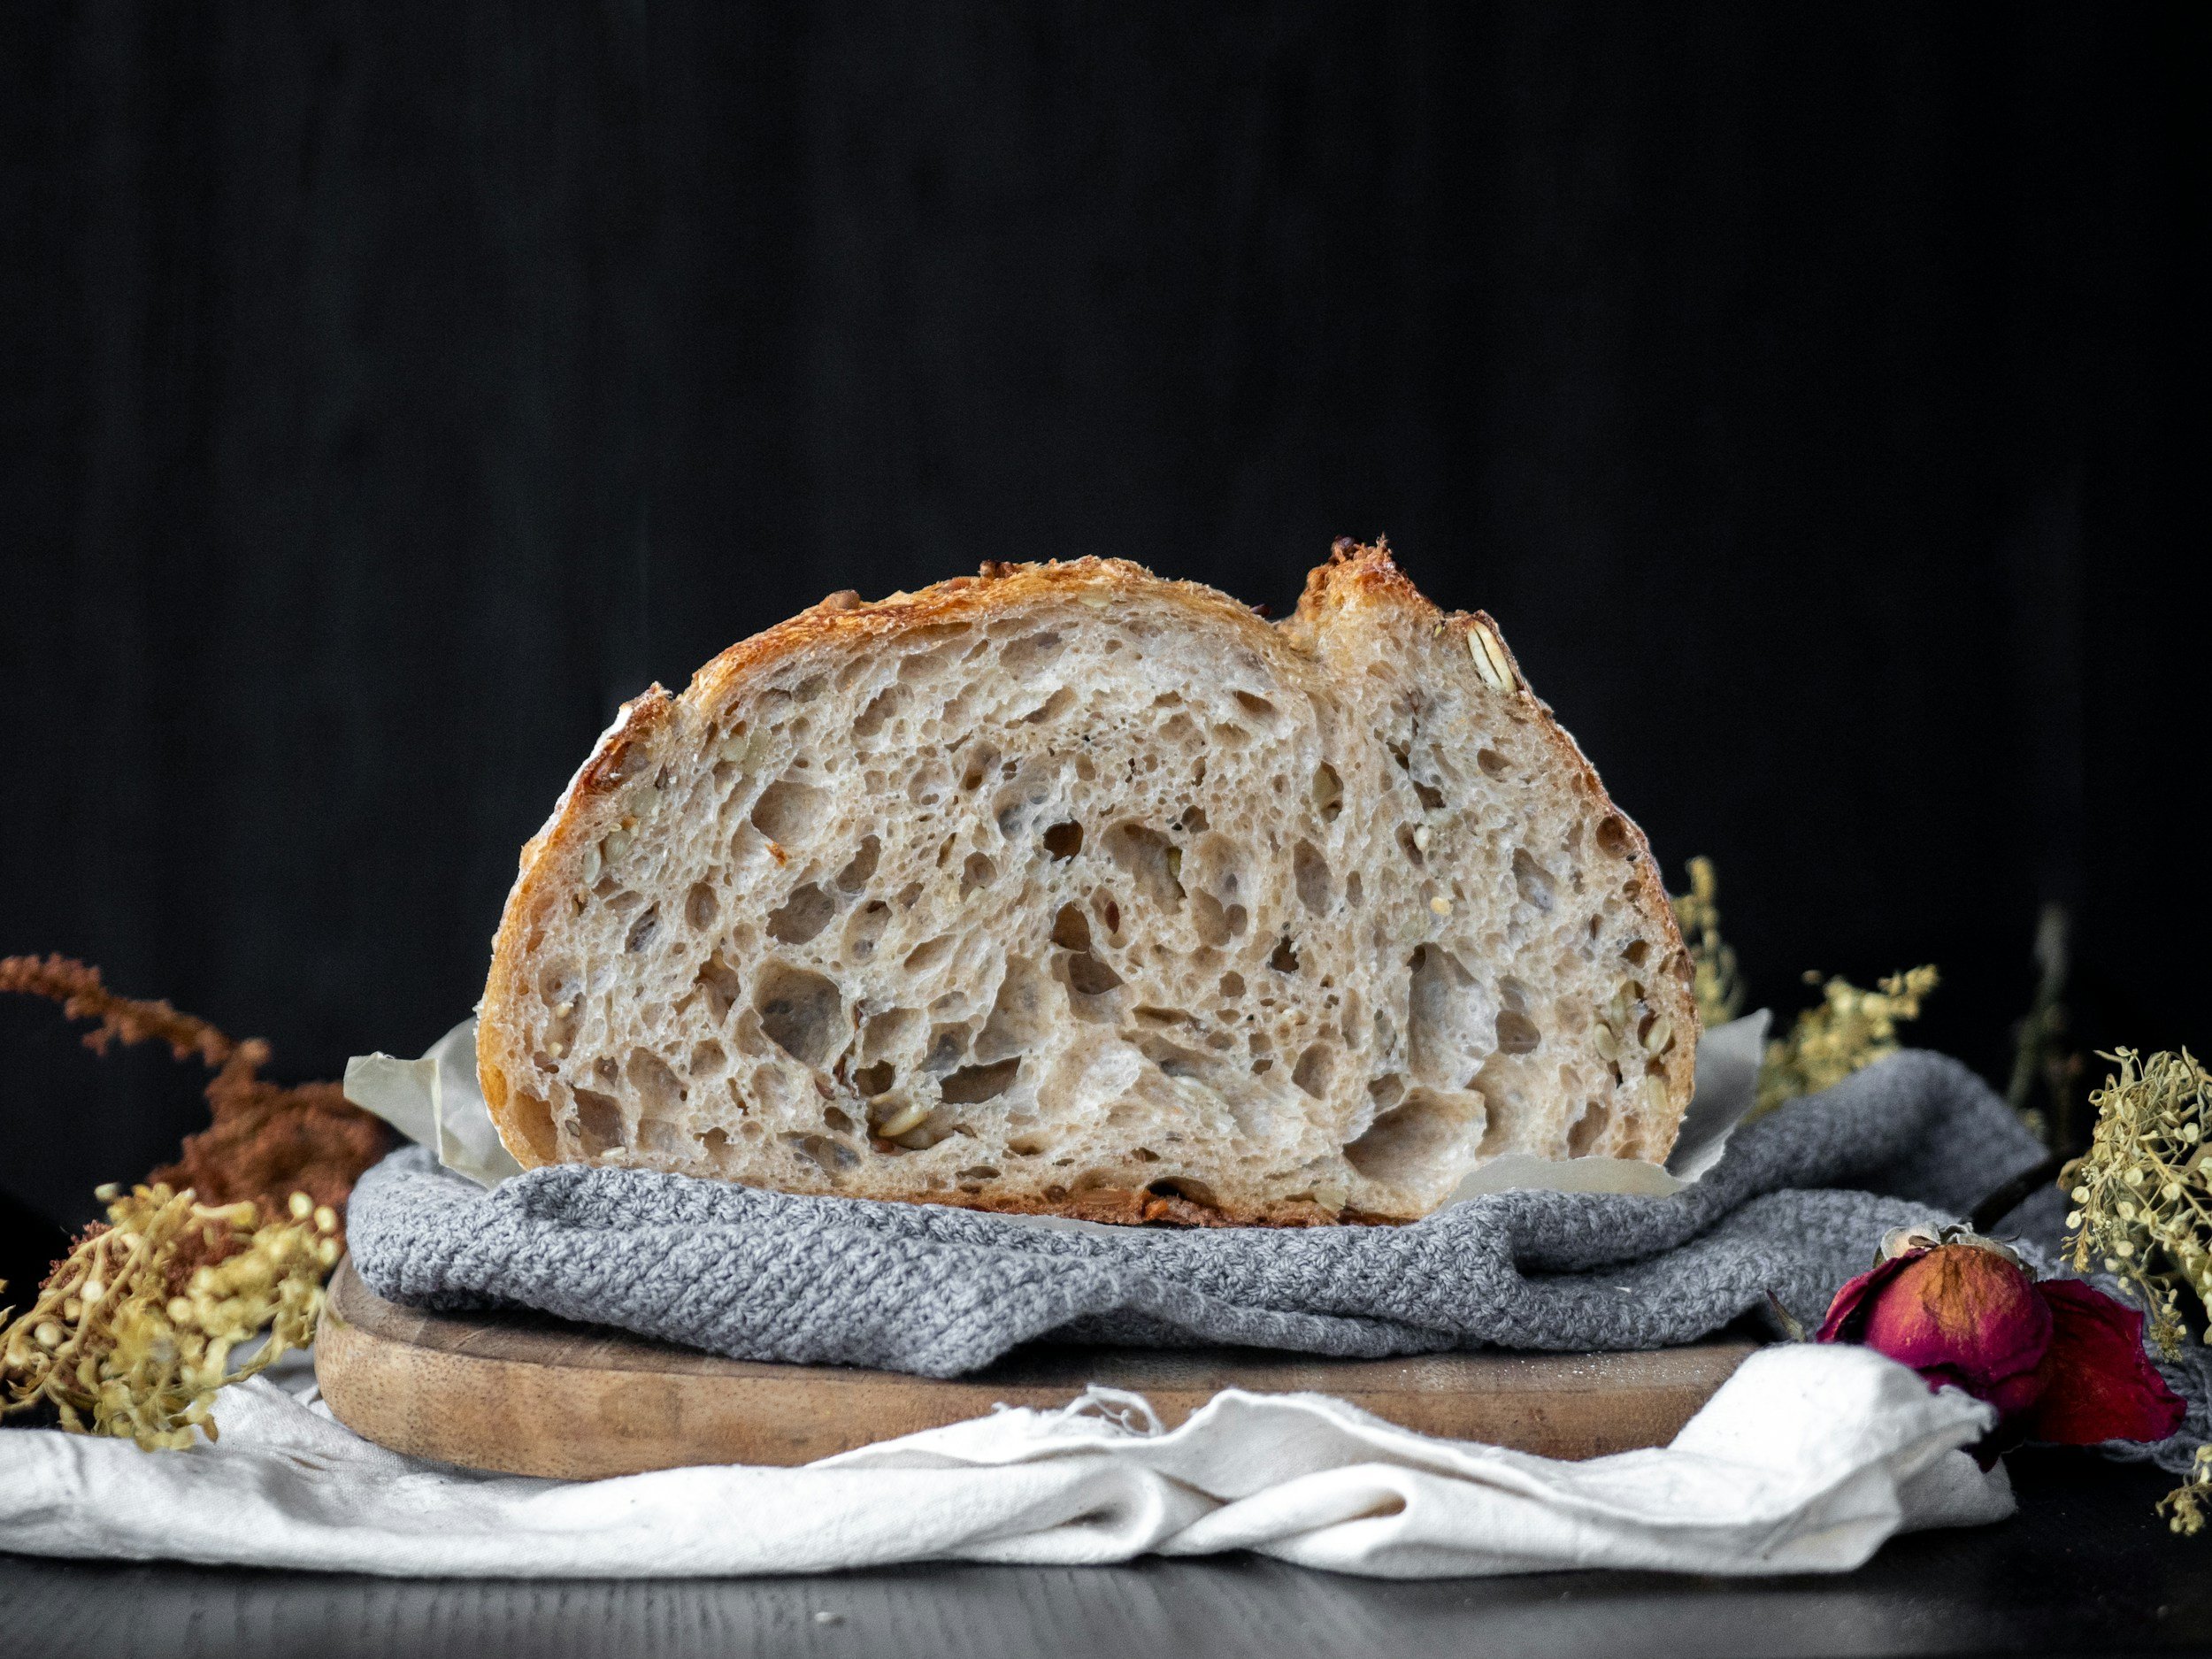
Answer: Sourdough is a type of bread that relies on natural fermentation rather than commercial yeast. The fermentation process is powered by wild yeast and lactobacilli present in a sourdough starter—a mixture of flour and water that captures these microorganisms from the environment. This process creates the signature tangy flavor, chewy texture, and crisp crust that sourdough is known for. Unlike typical bread, sourdough is slower to rise, giving it a richer, more complex taste and better digestibility.

Q: How do I make a sourdough starter?
Answer: Making a sourdough starter from scratch is simple but requires time and patience. Here’s how to do it:
Day 1: In a clean jar, combine 50 grams of whole grain flour (rye or whole wheat works best) with 50 grams of water. Mix thoroughly and cover the jar loosely. Leave it at room temperature (around 70-75°F or 21-24°C).
Day 2-5: Discard half of the starter each day and feed it with 50 grams of flour and 50 grams of water. Stir well, cover loosely, and let it sit. The mixture should begin bubbling as fermentation takes hold.
Day 6-7: By now, your starter should be bubbly and have a pleasantly sour smell. It’s ready to use when it doubles in size within 4-6 hours after feeding.

Q: How do I maintain my starter?
Answer: A healthy starter needs regular care. If you bake frequently, leave the starter at room temperature and feed it daily with equal parts flour and water. If you bake less often, store your starter in the refrigerator and feed it weekly. When you’re ready to bake, bring it to room temperature and give it a feeding the day before. Always discard half before feeding to keep it balanced and active.
Q: Why isn’t my starter bubbling?
Answer: A sluggish starter can be frustrating, but it’s often an easy fix. Here are some common reasons:
Temperature: Starters thrive in a warm environment (70-75°F). Cooler temperatures slow down the fermentation process.
Feeding Frequency: Regular feeding is crucial. If neglected, your starter may weaken. Daily feedings at room temperature are ideal for an active starter.
Flour Type: Whole grain flours (like rye or whole wheat) are rich in nutrients, which can help boost fermentation.
Water Quality: Tap water can sometimes contain chlorine, which inhibits fermentation. Use filtered or bottled water for best results.
Q: How do I know when my dough is fully proofed?
Answer: Knowing when dough is fully proofed is key to a successful bake. Fully proofed dough should have risen significantly and feel light and airy. You can also use the poke test: gently press a finger into the dough. If the indentation springs back slowly and partially fills in, your dough is ready for the oven. If it springs back quickly, give it more time. If it doesn’t fill in at all, it may be over-proofed.
Q: Why is my sourdough dense?
Answer: Dense sourdough can result from several issues:
Underproofing: If your dough hasn’t risen enough, it may not be fully fermented. Extend the proofing time and ensure your environment is warm enough.
Inactive Starter: Always use an active and bubbly starter for best results. A weak starter will yield poor rise and dense bread.
Kneading/Gluten Development: Sourdough needs strong gluten development. Ensure you knead properly or use the stretch-and-fold method during bulk fermentation to build structure in the dough.
Q: How can I get a crispy crust?
Answer: Achieving that perfect crispy crust requires steam during the baking process. Here are a few ways to create steam in your home oven:
Dutch Oven: Baking sourdough in a covered Dutch oven traps steam naturally, which helps form a crisp crust.
Steam Tray: Place a shallow tray of water on the oven’s bottom rack during the first 15-20 minutes of baking.
Spraying: Just before placing your dough in the oven, mist the oven walls with water using a spray bottle to create steam.

Q: Can I add ingredients to my sourdough?
Answer: Absolutely! Sourdough is highly adaptable, and you can experiment with a variety of add-ins like seeds, nuts, dried fruit, herbs, and spices. To avoid disrupting the dough’s structure, incorporate these ingredients during the final stretch-and-fold phase of the bulk fermentation process. This ensures they’re distributed evenly throughout the dough.
Q: How do I store sourdough bread?
Answer: Sourdough bread is best stored at room temperature. To maintain its crisp crust, keep it in a paper bag or bread box. Avoid plastic bags, as they can cause the crust to become soggy. Sourdough stays fresh for 3-4 days, but for longer storage, freeze individual slices or whole loaves in an airtight bag. When ready to eat, simply thaw at room temperature or pop a slice in the toaster.
Q: What can I do with leftover sourdough?
Answer: Don’t let stale sourdough go to waste! Here are a few creative ways to repurpose it:
Croutons: Cube the bread, toss with olive oil and herbs, and bake until crispy. Perfect for salads or soups.
Breadcrumbs: Dry out leftover slices, then pulse them in a blender for homemade breadcrumbs.
French Toast: Sourdough makes an excellent base for French toast—perfect for breakfast or brunch.
Panzanella: This Italian bread salad is a great way to use up day-old sourdough. Toss with tomatoes, cucumbers, basil, and a simple vinaigrette.

Q: How can I troubleshoot common issues?
Answer: If your sourdough isn’t turning out quite right, here are some quick fixes:
Flat Loaf: Check if your starter is active enough, and ensure you're kneading and proofing correctly. An inactive starter or improper fermentation can lead to a flat loaf.
Overly Sour Flavor: While a bit of tang is desirable, over-fermentation can make your bread too sour. Reduce proofing times or use less starter for a milder flavor.
Gummy Texture: A gummy texture is usually caused by underbaking or overly hydrated dough. Make sure to bake your loaf long enough and adjust the hydration level if needed.
Mastering sourdough is a rewarding journey, and with a bit of patience and practice, you'll be baking delicious, artisan-quality bread right at home. Understanding the basics, maintaining your starter, and troubleshooting common issues are key to success. So, roll up your sleeves, dive in, and enjoy the art of sourdough!
Happy baking! 👩🏻🍳
Get your sourdough starter kit now and join the baking revolution!
If you're craving more delicious recipes or want to dive deeper into the art of baking, subscribe to our newsletter for FREE recipes, expert tips, and exclusive offers!
Looking to expand your culinary skills? Explore our collection of digital cookbooks, packed with recipes that will inspire and elevate your home cooking. Get your digital cookbooks here and start creating mouthwatering meals today!
keywords: sourdough bread, how to make sourdough, sourdough starter recipe, maintaining sourdough starter, sourdough bread tips, troubleshooting sourdough, sourdough baking guide, why sourdough starter isn’t bubbling, how to proof sourdough, dense sourdough solutions, crispy sourdough crust, adding ingredients to sourdough, storing sourdough bread, leftover sourdough ideas, sourdough bread baking, common sourdough problems, beginner sourdough guide, making sourdough at home, homemade sourdough bread, sourdough fermentation